
Hi Everyone
Following last week’s post on learning styles and learning disabilities, this week we’ll be taking a closer look at some of the different tools of the trade that may assist people with different abilities.
While you’re getting to know your student and you’re both trying to figure out what works and what doesn’t, it’s really important to check with your student regarding any health ailments they may have or restrictions they have on their movement or if they are left handed or right handed. This is regardless of whether your student has any obvious or hidden disabilities, because you don’t want to aggravate any existing injuries or ailments such as Carpal Tunnel Syndrome, arthritis or any skeletal or muscular injuries or defects. Alternatively, you or your student may have experienced or suffered from a medical trauma such as a stroke, diabetes or epilepsy. This conversation may be awkward or uncomfortable to have with your student, but it’s an important one to have because it will help you and your student set achievable goals during the sessions you have, such as the length of time spent stitching. It will also help both of you to figure out what tools of the trade will help .
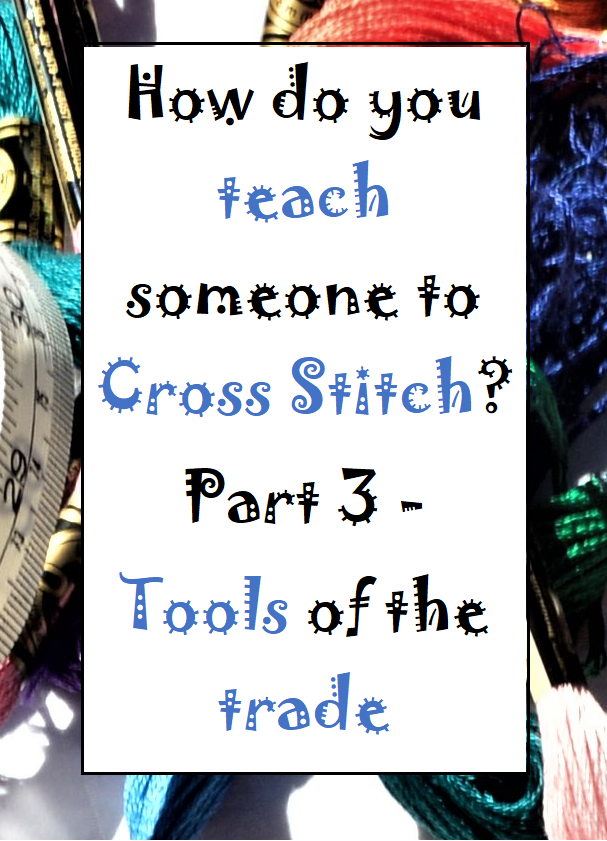
Tools of the trade
Scissors, needles, fabric, threads, really good light and a pattern are the basics of what we all need. Personal preferences and our comfort and abilities kick in when we start looking at:
- Hoops
- Q-snaps
- Stands
- No hoops or Q-snaps
- Fabric colour and count size
- Needle size
- Needle Minders
- Brand of thread (e.g. DMC, Anchor, silks)
- Where our lighting comes from (e.g. natural sunlight, LED over-the-top lighting, regular light bulbs)
- Needle threaders
- Type of scissors
- Magnifiers or glasses with lights attached to them
- Unpickers
- Thimbles
Janet M Perry for example, wrote a post titled ‘Stitching Aids for Stitchers with Strokes‘ on 16 April 2016. Janet writes from experience because in her post, she states that she has MS (Multiple Sclerosis) and for 5 years she had been misdiagnosed as having had a stroke, until she had her second attack. She also acknowledges that in one of her classes, she had been asked about some of the aids available for people who have had a stroke which formed the basis of her post.
Automatic Needle Threaders
One of the things Janet talked about in her post, was an automatic needle threader that is made by a company called Clover. I never realised or thought of such a tool existing! But it makes sense and I’m really happy that this tool is out on the market because there’s a pretty strong chance that I might need it one day or someone I teach may need it.

Scissors
When we’re talking about craft related scissors we have a really nice variety to choose from to cater for people who may left handed or right handed and various strength levels and mobility in either hand. Many of the smaller craft scissors on the market now (we can use for cutting our threads) have been designed for left or right handed people.
One of the things that Janet suggests in her post, is the use of shears for people who may have difficulties with using regular scissors.
Hoops, Q-Snaps and Stands
As crafters, I feel like we can be spoilt for choice. We can choose to use hoops, q-snaps, stands or nothing at all to help keep the tension in our fabric. Additionally, if we choose to use a stand or frame, it can take the weight off our hands while stitching.

Depending on the ability of your student and their preferences, a frame or hoop may make it easier for them to learn how to cross stitch and potentially for longer periods of time.
Personally, I use the Stitch Smart Stand that you can see in the top left corner of the above image. My stand doesn’t have the magnifier or pattern holder attached to it, but I have the option to add them if I want and can use a variety of sized hoops with it. To access the back of the project to finish off a thread or commence stitching with a new thread, all I need to do is turn the hoop to the left or right and I can see what’s happening. Using this stand takes the weight off my left hand (that I use to hold the project) and I can just use my right hand for the needle and thread. I still use my left hand to lightly hold the project and give the project the extra bit of support.
Additionally, regardless of whether I’m using the stand or not, I definitely use a hoop for all of my projects. I find that the tension for the project is a lot better than when I’m stitching without one. I have stitched one project without a hoop and I felt naked without it!
Magnifiers, lights or glasses
When you can clearly see what you’re doing, it can make the task you’re doing so much easier and hopefully a lot more enjoyable! When it comes to embroidery glasses and magnifiers, there are a number of options on the market which include:
- the 5 Lens Loupe LED Light Headband Magnifier Glass LED Magnifying Glasses that can be worn like regular glasses and they have a light embedded in the bridge of the glasses and enables you to light up your work. The 5 lenses means that you’re able to adjust the strength of the lenses to suit your eye sight.
- Giant Large Hands Free Magnifying Glass with light LED which is a rectangle magnifier on a stand that you can use if you’re sitting at a table or on the couch and your work can go under the magnifier. Alternatively, (based upon the images on the internet) the magnifier can hang from your neck.
- If you choose to use a stand to hold your work, some models enable you to have magnifiers and lights attached to them.
- Magnifiers that lay over the top of the paper pattern (if you choose to have a paper version or copy) to help you clearly see the symbols and see where you’re up to.
Gloves or wrist supports
Cross stitching for extended periods of time (e.g. hours at a time) and over the course of many years, many of us may become susceptible to ailments such as RSI (repetitive strain /stress injury) and arthritis. Internet searches have shown that there are numerous types of compression finger-less gloves available to provide support to provide support to hands and wrists.
Project Bags
Your student is going to need to put their project somewhere when there not working on it, and be able to easily pick it up and go if you’re meeting somewhere to do a stitch ‘n’ bitch session! The bag can be anything that makes it easy for them to store their stash, ranging from a backpack with many pockets through to a calico bag that may have been used to purchase their new crafty items.
However, if they want something really special, an internet search on project bags for cross stitch will bring up an enormous amount of options such as:

Alternatively, you and your student may want to try your hand at making a project bag yourself and thankfully, there are many videos on YouTube that can help you with that!
Storage Options
Thankfully there are a lot of different options when it comes to the way we can store our collections – especially depending on whether the projects are actively being worked on or not. The way in which your student chooses to store and manage their floss (aka, cotton, silks or skeins) can make it easier or harder for them to know which colours they need for different parts of the pattern. Additionally, depending on their preference, it may make it easier for them to ensure their strands don’t get tangled. For example, will it be easier for them to be put onto bobbins, remain as they are, be stored in boxes and tins or hanging from hoops?
Technology or paper
Similar to the lighting and magnifying of patterns and projects, your student may have a preference for seeing the pattern on an IT device or on paper and how they mark off the areas they’ve stitched will be impacted by the IT device or paper.
There are a number of apps available to enable people to view and use patterns on their IT devices. I’ve not used any of them before, so the information listed below is based upon searches from the internet:
- GoodReader – available on Apple only
- ezPDF reader – available for Android and Apple
Alternatively, your student may prefer the feel of pencil and paper, photocopying and enlarging the pattern can make life a lot easier if the symbols are quite small or there are a lot of them on the one page.
It’s important to note that there will be limitations around the number of copies you can make – especially for paper based patterns. Additionally, not all patterns are available digitally. Which means that some extra steps will need to be taken to digitise the patterns to enable them to work with whichever app you or your student chooses to use (if using an IT device).
Parting note…
If you’re teaching someone who has never done any form of sewing or embroidery, it may be worth taking a trip to your local craft store so that your student can get a feel for what is right for them.
Meanwhile, next time in Part 4 of this series, we’ll take a look at pattern choices, starting a cross stitch project and the different ways to do cross stitch.
Until next time, happy stitching!
Related Links
- Easy Grip Scissors by Educational Experience – website viewed on 2 December 2019
- Stitching Aids for Disabled Stitchers – blog post by Janet M Perry
- Mini Scissors by Cross & Stitch – website viewed on 2 December 2019
- The Fox Collection – website – hoops, frames and stands
- Hand Health by Nordic Needle – blog post – date unknown


