Posted in Cross Stitch Haul and Stitching Progress

Down the creative rabbit hole of making project bags for cross stitch.

Hi Everyone

The creative writing bug left me for a while and I felt that I didn’t have much to write about regarding cross stitch and what I’ve been doing – especially things that would make any of the posts interesting!

Thankfully it doesn’t mean I’ve been idle, because I cleaned out some of my cupboards and found some quilting fabric I’d forgotten about and tried my hand at making some project bags:

So far I’ve created three bags and thankfully each time I’ve improved and learnt my lessons from the previous bag – to then create new lessons for future bags! The above images show both sides of the bags and the inside of them where I’ve tried to line them with some fabric as a point of interest.

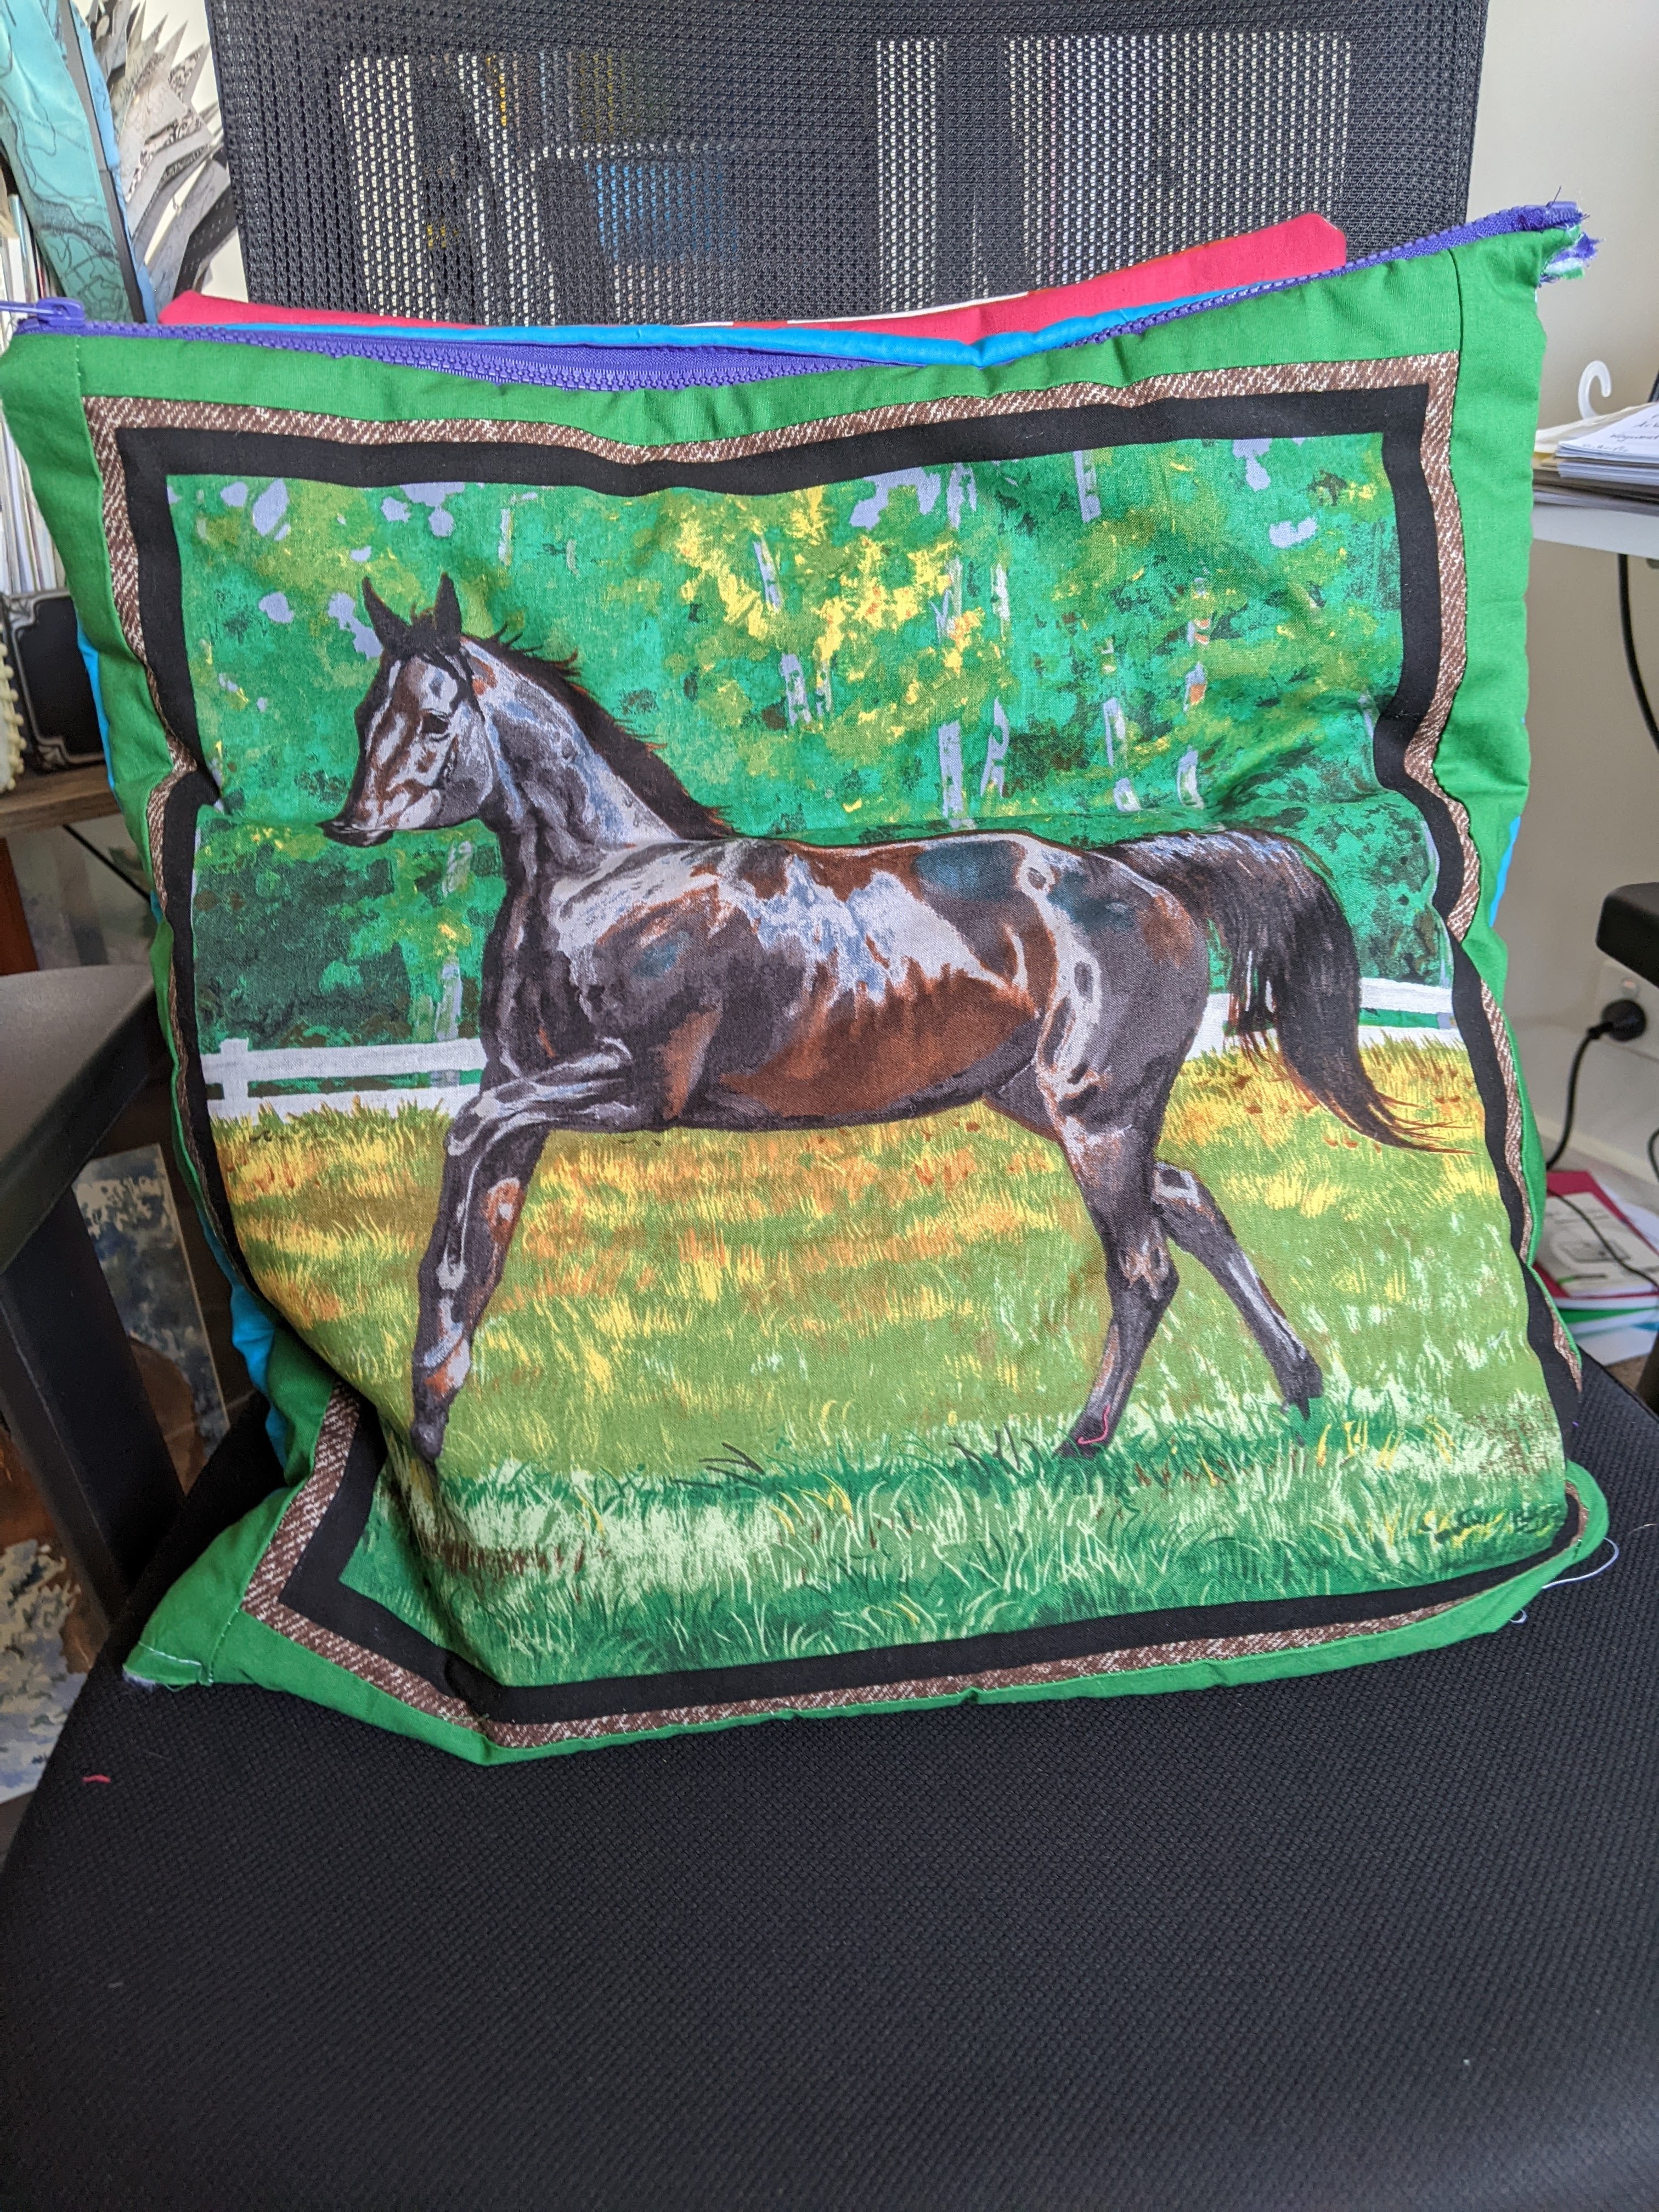
The additional aim of these bags is to help me keep my physical cross stitch patterns organised. The horse, teddy bears and dog project bags hold cross stitch patterns on those things – horses, teddy bears and dogs.

My eventual aim is to attach cards to the zippers that will say what the project is inside, as the need arises.

Lesson 1 – Padding’s a nice idea but the type of padding used is more important, if it’s going to be used

The positive is that I successfully attached my first zip to some fabric using a special foot that came with my sewing machine!

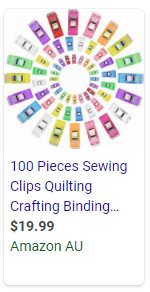
The negative is that I’m not going to use left-over batting I used for my cross stitch quilt! As much as I tried to keep things as lined up and straight as possible, the padding gave the bag a mind of its own when it came time to stitching – even when I was using pins! If I due use padding again, I’ll definitely use something thinner and use special quilting clips like the ones below (that I could purchase from a craft store):

Image of multi coloured sewing clips – courtesy of Google Image Search

Lesson 2 – Securing the ends of the zipper will help with opening and closing

The images below are from the first bag I created and it opens and closes smoothly. The ends however aren’t neat and they need to be. That’s partially due to the type of zipper I used for this bag and the other part is due to me ‘winging’ it and not following a specific pattern. My initial logic was – it’s just a bag, it should be simple enough!

Lesson 3 – Following a pattern and paying attention to that pattern is important

To toot my own horn, I’m good at writing procedures and instructions. I have trouble following instructions and procedures though. It does depend upon what I’m doing and the complexity of what I need to do. If I have to do something practical like making a project bag, then I find it easier to follow a series of images than written instructions.

For the second bag, I tried to follow a tutorial that Elizabeth Ann Can Stitch posted about a year ago. It worked reasonably well to begin with. There was a bit of re-watching certain parts to be sure I was on the right track. The hardest part I found was attaching the front to the back. That was partially due to me getting to the point where I thought that I was okay and on the right track and didn’t need to keep re-watching!

Because of this thought pattern, I had to get creative at times and add more fabric to the bag to make it all line up!

Image of the second project bag – additional fabric added to make it square

This is where and why I can never be a builder or work in construction where supplies are very expensive. As much as I measure twice and cut once, I can measure 10 times and cut once and still get it wrong!

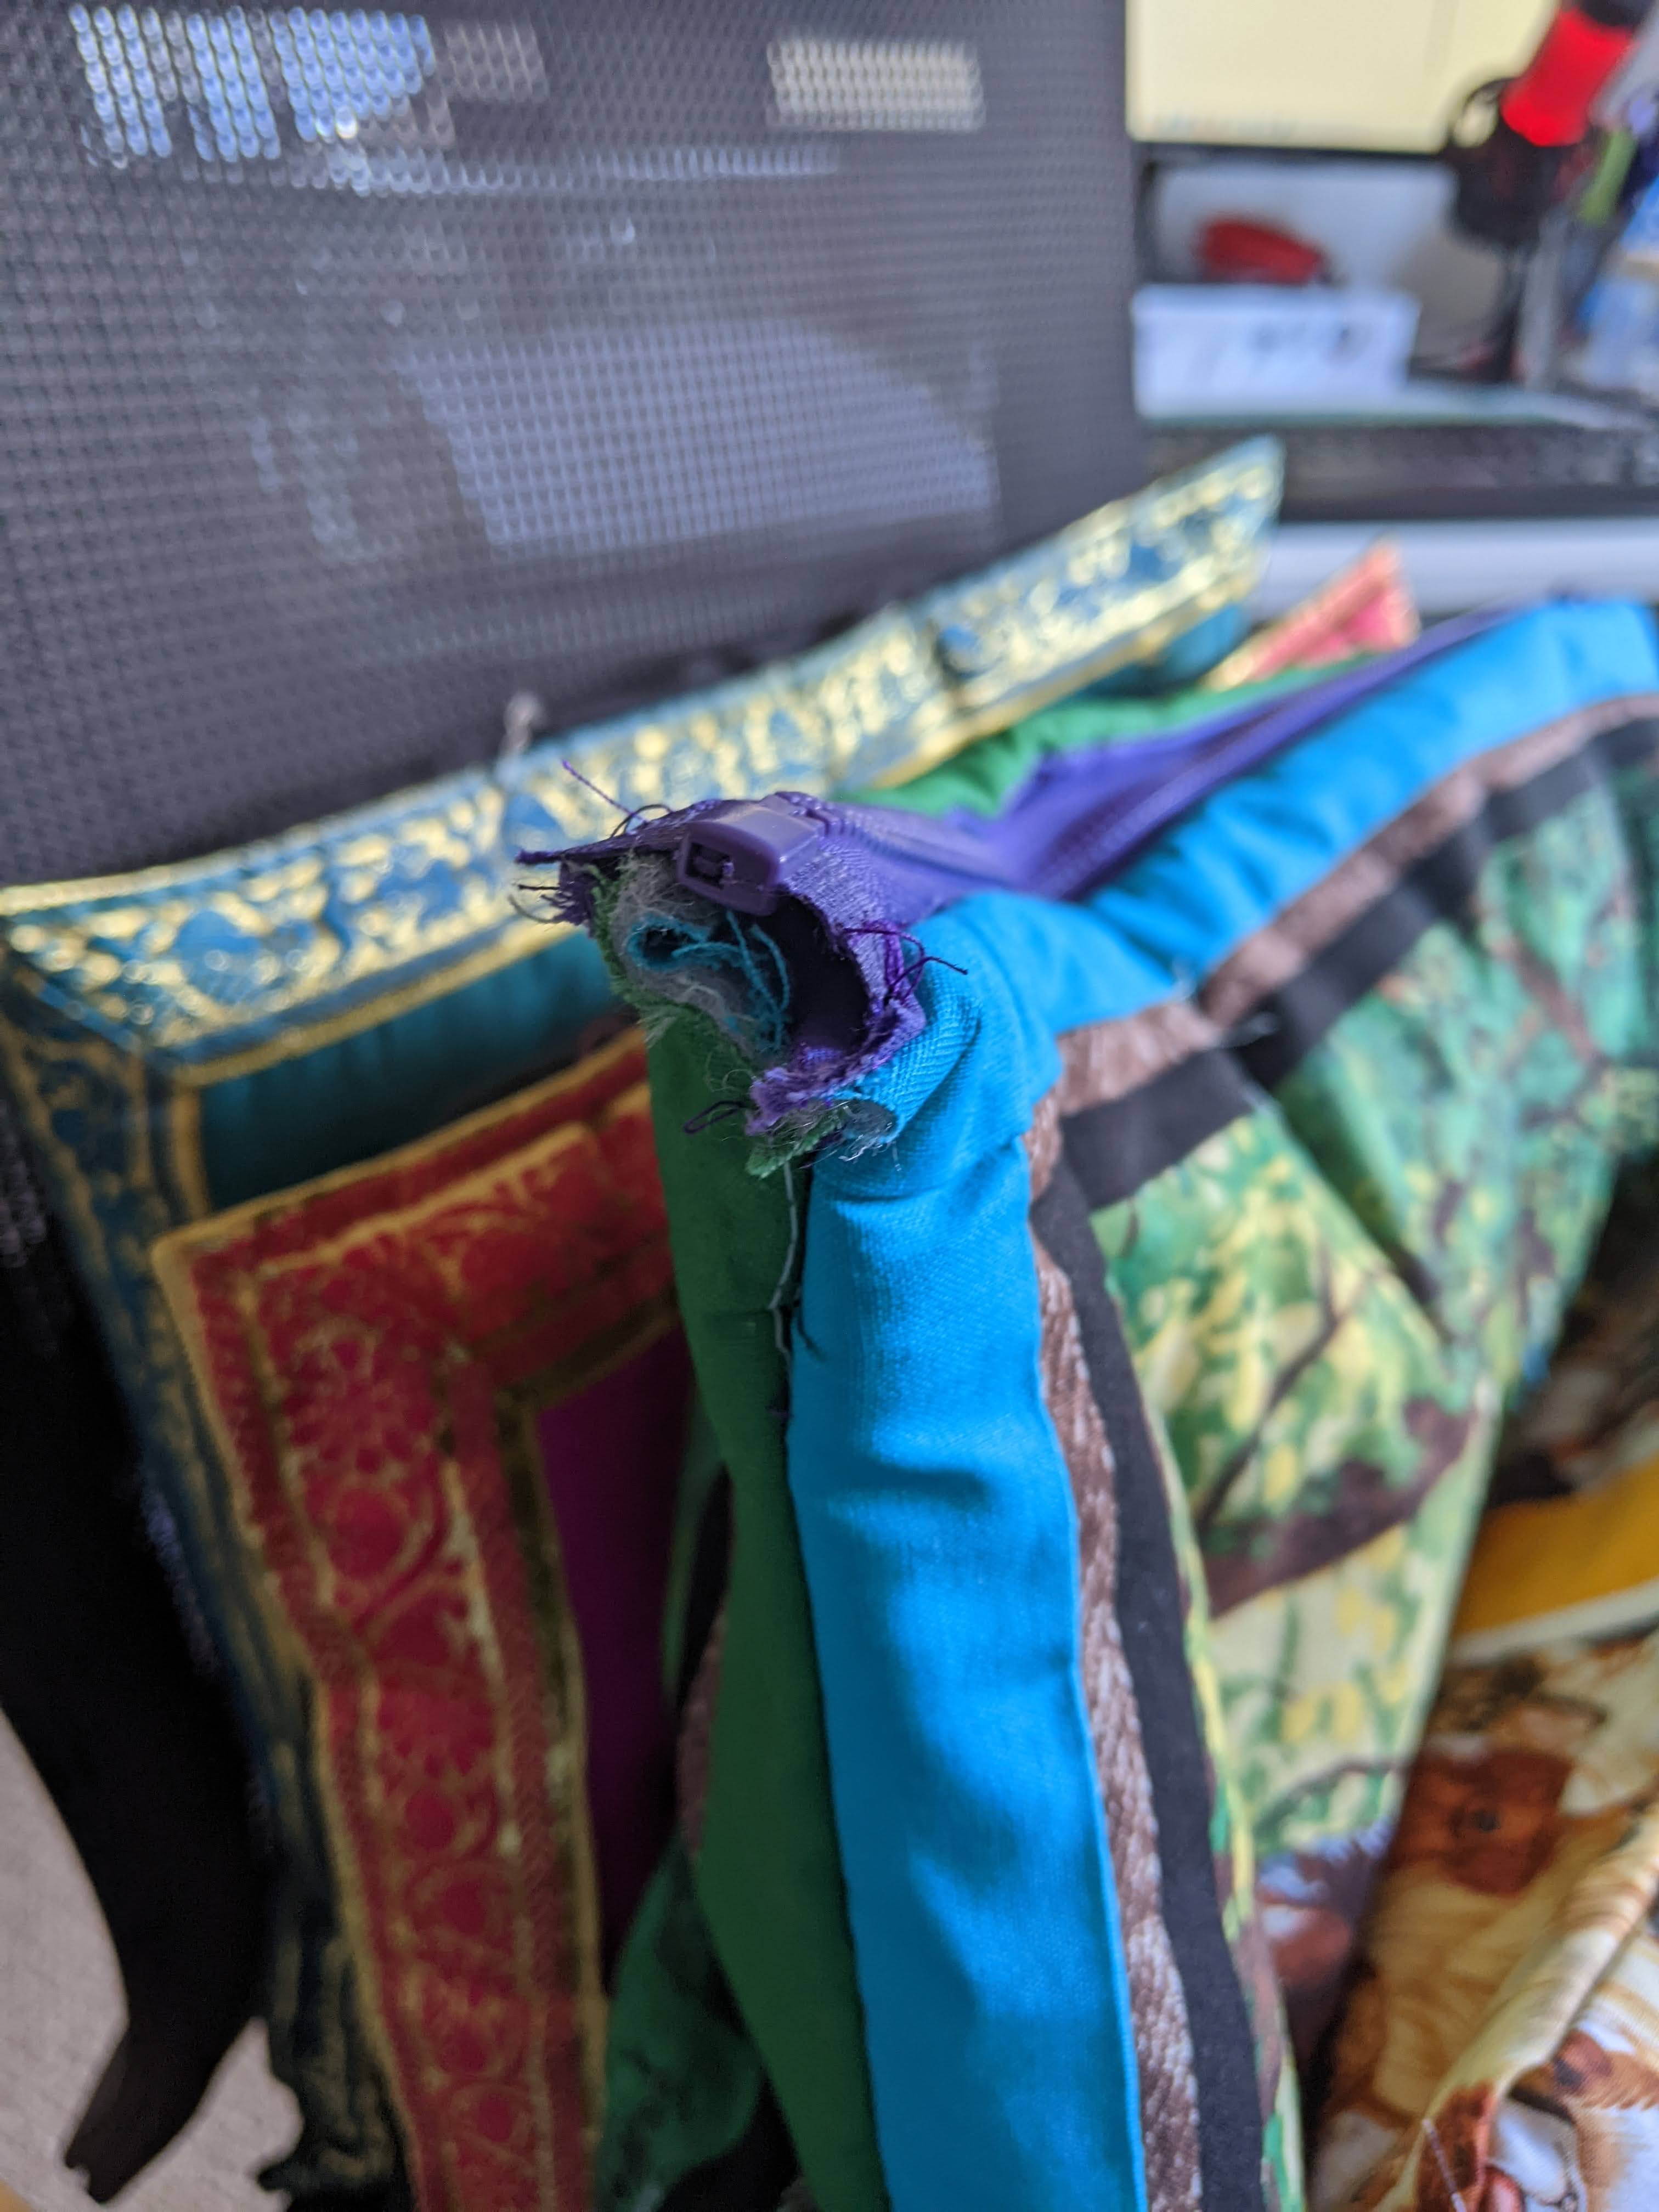
The positive to come out of this bag is my improved zipper attachment to the bag – much to the detriment of a needle on my sewing machine that was sacrificed as part of the sewing process. I had learnt from my first bag to really keep my seams straight and make sure everything lined up. For the majority of the bag I was able to do this and that’s when the needle broke when I was sewing a part of the zipper. However, there was still one part of the bag where I hadn’t quite gotten the whole seam of the fabric, as shown below:

Close up of the second bag where some of the fabric wasn’t captured in the seams – just above the zipper.

Lesson 4 – Converting inches to centemetrs to ensure precision of the pattern

One of the things I struggled with creating the second bag was all of the measurements were in inches. Normally that wouldn’t be a problem because I have a tape that uses both types of measurements. The challenge came when I wanted to use a specific panel of fabric that wasn’t to the inch or half inch and my ability to determine if it’s a quarter of an inch, an eighth of an inch etc. That’s when I started using a mixture of inches and centemetres and noting down the measurements where I adjusted them. That’s when the additional fabric had to be added to the bag!

Lesson 5 – Leaving it to memory then winging it

For the most part, I’m really happy with how my third bag turned out since I had made some adjustments to the dimensions and I was going by memory for how to assemble it. I’m happy with how neat the seams are and I don’t have any frayed edges where I’ve not been able to capture all of the edges!

You may notice that the centre image below shows a yellow vertical strip of fabric just above the Golden Retreaver’s head. That’s where I needed to get creative and try and use some of the fabric I’d already cut up.

Learning my lesson from breaking a sewing machine needle from the second bag, I wanted to be safe than sorry but also have a really nice and neat bag for my third one. I achieved that by not breaking another needle and allowed some extra fabric either side of the zipper to try and make it neat.

Close up of zipper end on third bag

I’m not completely happy with this end, but it may be something for the fourth bag that I can improve on. I could add some extra fabric that covers this end, but something I can easily attach without breaking another needle!

Lesson 6 – Do I dare use clear vinal?

I haven’t purchased any yet but I’m considering it. I’ve seen on Flosstube that some people have project bags that have a clear panel of vinal at the front to help them see what project/s they have in the bag. I’ve even seen one creative endeavor where a Christmas stocking shaped project bag had been made and the creator had included clear vinal but in a pocket format, to enable the user to keep their floss/threads organised. To me that will be the ideal thing to do or / and create a bag that is large enough to fit my fishing tackle boxes that I use to store and organise the thread for my large, full coverage pieces. The box below is an example of how I use the tackle box and I’m using it for three different projects!

Overhead view of the fishing tackle box I use (one of three) for storing floss for full coverage projects.

I hope you’ve found this read useful, if not entertaining! My aim is to write more posts for this year and interact with you all more!

In the meantime, you can catch up with me regarding my cross stitch progress and new patterns etc. on my Flosstube channel, The X Stitching Runner.

Until next time, happy stitching!

Posted in Uncategorized

How do you teach someone to Cross Stitch? Part 3 – Tools of the trade

Hi Everyone

Following last week’s post on learning styles and learning disabilities, this week we’ll be taking a closer look at some of the different tools of the trade that may assist people with different abilities.

While you’re getting to know your student and you’re both trying to figure out what works and what doesn’t, it’s really important to check with your student regarding any health ailments they may have or restrictions they have on their movement or if they are left handed or right handed. This is regardless of whether your student has any obvious or hidden disabilities, because you don’t want to aggravate any existing injuries or ailments such as Carpal Tunnel Syndrome, arthritis or any skeletal or muscular injuries or defects. Alternatively, you or your student may have experienced or suffered from a medical trauma such as a stroke, diabetes or epilepsy. This conversation may be awkward or uncomfortable to have with your student, but it’s an important one to have because it will help you and your student set achievable goals during the sessions you have, such as the length of time spent stitching. It will also help both of you to figure out what tools of the trade will help .

Tools of the trade

Scissors, needles, fabric, threads, really good light and a pattern are the basics of what we all need. Personal preferences and our comfort and abilities kick in when we start looking at:

  • Hoops
  • Q-snaps
  • Stands
  • No hoops or Q-snaps
  • Fabric colour and count size
  • Needle size
  • Needle Minders
  • Brand of thread (e.g. DMC, Anchor, silks)
  • Where our lighting comes from (e.g. natural sunlight, LED over-the-top lighting, regular light bulbs)
  • Needle threaders
  • Type of scissors
  • Magnifiers or glasses with lights attached to them
  • Unpickers
  • Thimbles

Janet M Perry for example, wrote a post titled ‘Stitching Aids for Stitchers with Strokes‘ on 16 April 2016. Janet writes from experience because in her post, she states that she has MS (Multiple Sclerosis) and for 5 years she had been misdiagnosed as having had a stroke, until she had her second attack. She also acknowledges that in one of her classes, she had been asked about some of the aids available for people who have had a stroke which formed the basis of her post.

Automatic Needle Threaders

One of the things Janet talked about in her post, was an automatic needle threader that is made by a company called Clover. I never realised or thought of such a tool existing! But it makes sense and I’m really happy that this tool is out on the market because there’s a pretty strong chance that I might need it one day or someone I teach may need it.

Automatic Needle Threader made by the company Clover – image and description found on the Amazon website as of 2 December 2019

Scissors

When we’re talking about craft related scissors we have a really nice variety to choose from to cater for people who may left handed or right handed and various strength levels and mobility in either hand. Many of the smaller craft scissors on the market now (we can use for cutting our threads) have been designed for left or right handed people.

One of the things that Janet suggests in her post, is the use of shears for people who may have difficulties with using regular scissors.

Hoops, Q-Snaps and Stands

As crafters, I feel like we can be spoilt for choice. We can choose to use hoops, q-snaps, stands or nothing at all to help keep the tension in our fabric. Additionally, if we choose to use a stand or frame, it can take the weight off our hands while stitching.

Images of various hoops and stands from a Google Image search – as of 8 December 2019

Depending on the ability of your student and their preferences, a frame or hoop may make it easier for them to learn how to cross stitch and potentially for longer periods of time.

Personally, I use the Stitch Smart Stand that you can see in the top left corner of the above image. My stand doesn’t have the magnifier or pattern holder attached to it, but I have the option to add them if I want and can use a variety of sized hoops with it. To access the back of the project to finish off a thread or commence stitching with a new thread, all I need to do is turn the hoop to the left or right and I can see what’s happening. Using this stand takes the weight off my left hand (that I use to hold the project) and I can just use my right hand for the needle and thread. I still use my left hand to lightly hold the project and give the project the extra bit of support.

Additionally, regardless of whether I’m using the stand or not, I definitely use a hoop for all of my projects. I find that the tension for the project is a lot better than when I’m stitching without one. I have stitched one project without a hoop and I felt naked without it!

Magnifiers, lights or glasses

When you can clearly see what you’re doing, it can make the task you’re doing so much easier and hopefully a lot more enjoyable! When it comes to embroidery glasses and magnifiers, there are a number of options on the market which include:

  • the 5 Lens Loupe LED Light Headband Magnifier Glass LED Magnifying Glasses that can be worn like regular glasses and they have a light embedded in the bridge of the glasses and enables you to light up your work. The 5 lenses means that you’re able to adjust the strength of the lenses to suit your eye sight.
  • Giant Large Hands Free Magnifying Glass with light LED which is a rectangle magnifier on a stand that you can use if you’re sitting at a table or on the couch and your work can go under the magnifier. Alternatively, (based upon the images on the internet) the magnifier can hang from your neck.
  • If you choose to use a stand to hold your work, some models enable you to have magnifiers and lights attached to them.
  • Magnifiers that lay over the top of the paper pattern (if you choose to have a paper version or copy) to help you clearly see the symbols and see where you’re up to.

Gloves or wrist supports

Cross stitching for extended periods of time (e.g. hours at a time) and over the course of many years, many of us may become susceptible to ailments such as RSI (repetitive strain /stress injury) and arthritis. Internet searches have shown that there are numerous types of compression finger-less gloves available to provide support to provide support to hands and wrists.

Project Bags

Your student is going to need to put their project somewhere when there not working on it, and be able to easily pick it up and go if you’re meeting somewhere to do a stitch ‘n’ bitch session! The bag can be anything that makes it easy for them to store their stash, ranging from a backpack with many pockets through to a calico bag that may have been used to purchase their new crafty items.

However, if they want something really special, an internet search on project bags for cross stitch will bring up an enormous amount of options such as:

A very tiny sample of cross stitch project bags available on Etsy by various talented people – image taken on 8 December 2019

Alternatively, you and your student may want to try your hand at making a project bag yourself and thankfully, there are many videos on YouTube that can help you with that!

Make your won project bag by Making Life Count – Posted on 2 January 2017

Storage Options

Thankfully there are a lot of different options when it comes to the way we can store our collections – especially depending on whether the projects are actively being worked on or not. The way in which your student chooses to store and manage their floss (aka, cotton, silks or skeins) can make it easier or harder for them to know which colours they need for different parts of the pattern. Additionally, depending on their preference, it may make it easier for them to ensure their strands don’t get tangled. For example, will it be easier for them to be put onto bobbins, remain as they are, be stored in boxes and tins or hanging from hoops?

How to organise embroidery floss and wind on floss to bobbins – YouTube clip by Peacock and Fig – uploaded on 25 October 2015

Technology or paper

Similar to the lighting and magnifying of patterns and projects, your student may have a preference for seeing the pattern on an IT device or on paper and how they mark off the areas they’ve stitched will be impacted by the IT device or paper.

There are a number of apps available to enable people to view and use patterns on their IT devices. I’ve not used any of them before, so the information listed below is based upon searches from the internet:

  • GoodReader – available on Apple only
  • ezPDF reader – available for Android and Apple
How to use the GoodReader app for cross stitch (on ipad) – by Carolyn Mazzeo – uploaded to YouTube on 3 January 2015
EzPDF Cross Stitch how to highlight and remove highlight by Leeleered – uploaded to Youtube on 16 September 2018
My Favourite Cross Stitch and Diamond Painting Apps and why they’re useful by Crafty Lisa – uploaded to Youtube on 21 September 2018

Alternatively, your student may prefer the feel of pencil and paper, photocopying and enlarging the pattern can make life a lot easier if the symbols are quite small or there are a lot of them on the one page.

It’s important to note that there will be limitations around the number of copies you can make – especially for paper based patterns. Additionally, not all patterns are available digitally. Which means that some extra steps will need to be taken to digitise the patterns to enable them to work with whichever app you or your student chooses to use (if using an IT device).

Parting note…

If you’re teaching someone who has never done any form of sewing or embroidery, it may be worth taking a trip to your local craft store so that your student can get a feel for what is right for them.

Meanwhile, next time in Part 4 of this series, we’ll take a look at pattern choices, starting a cross stitch project and the different ways to do cross stitch.

Until next time, happy stitching!

Related Links