Hi Everyone
Wow, it’s the end of January 2021 already! Where has the month gone? Here in Canberra, Australia we’ve had a pretty mild summer so far and it’s a vast difference to last summer thankfully!
As I’m writing this post, it’s overcast and there’s a very light drizzle rain. The temperature is comfortable enough for me to be barefoot with the windows open for fresh air and jumper to keep me warm enough. Over the last couple of days we’ve had some really nice rain falls to help put a little bit of water into the dams and water the plants.
WIPGO Update
All of which has been a really good excuse (if I really ever needed one!) to get a bucket load of cross stitch done. WIPGO has also made the world of difference and provided me with the additional motivation I’ve needed to make some significant progress on my projects. For the month of January, the numbers 13, 18 and 6 were called, which meant that I needed to work on Gingerbread Train (allocated to square number 6), Four Seasons Kittens (allocated to square 18) and square 13 being a free space where I could leave it as is or do whatever I wanted with it. For example, I could start a new project, buy a new project or threads, or work on another project that may or may not be on the board shown below:

The squares you see coloured in with a lavender or light purple were the numbers called for January. The cross or X and green Y mean that I have finished that project and met the goal or challenge I had set for that project. Also, the purple squares will never be called upon again for the rest of 2021. Which is why I have set my board up like I have in case I’m unable to meet the challenge I’ve set for each project and many of them are big projects, so I’m not going to be able to complete them by the end of this year.
The light blue squares are the numbers called for February. Because I finished the Gingerbread Train (second allocation, square 20) earlier than I expected, I get to replace it with another project that I’d forgotten about. Initially I was going to have Curglaff in square 20, but with the number 13 called in January, I started stitching it anyway because I wasn’t sure when the number 20 would be called and I really wanted to work on Curglaff (see January Finishes for pictures).
Autumn Castle
This project has been selected for square 4 and the image below on the left is what I’ve stitched as of December 2020 and the image on the right is what it will look like.


This project has been riddled with counting problems and fudging that it will be interesting to see how things go. It’s also a good thing that it’s on the WIPGO board so that it can get some attention!
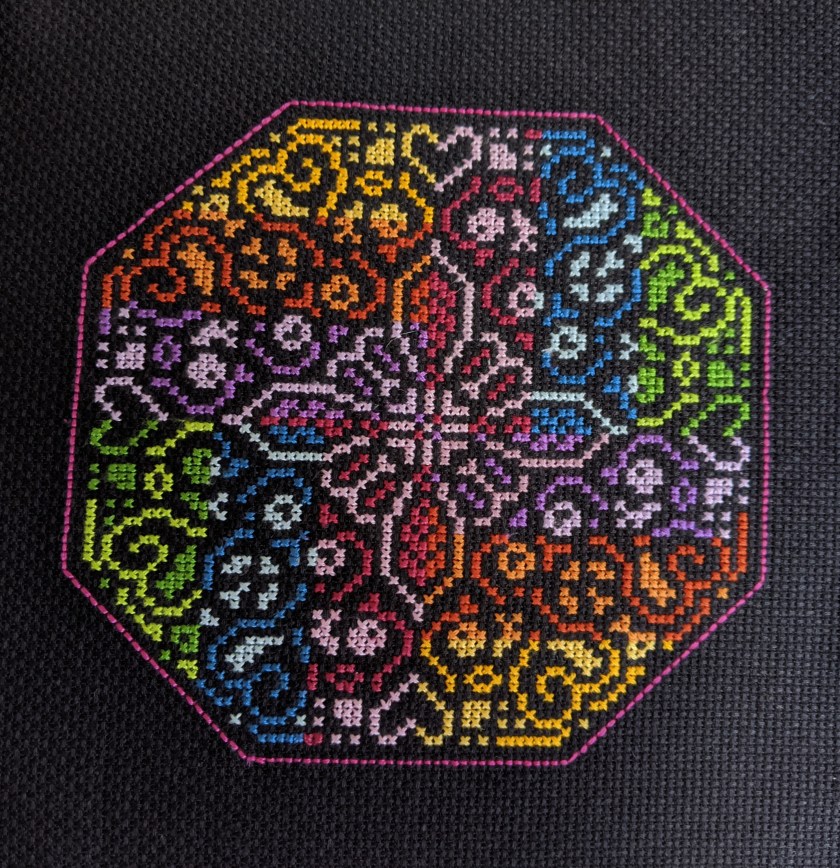
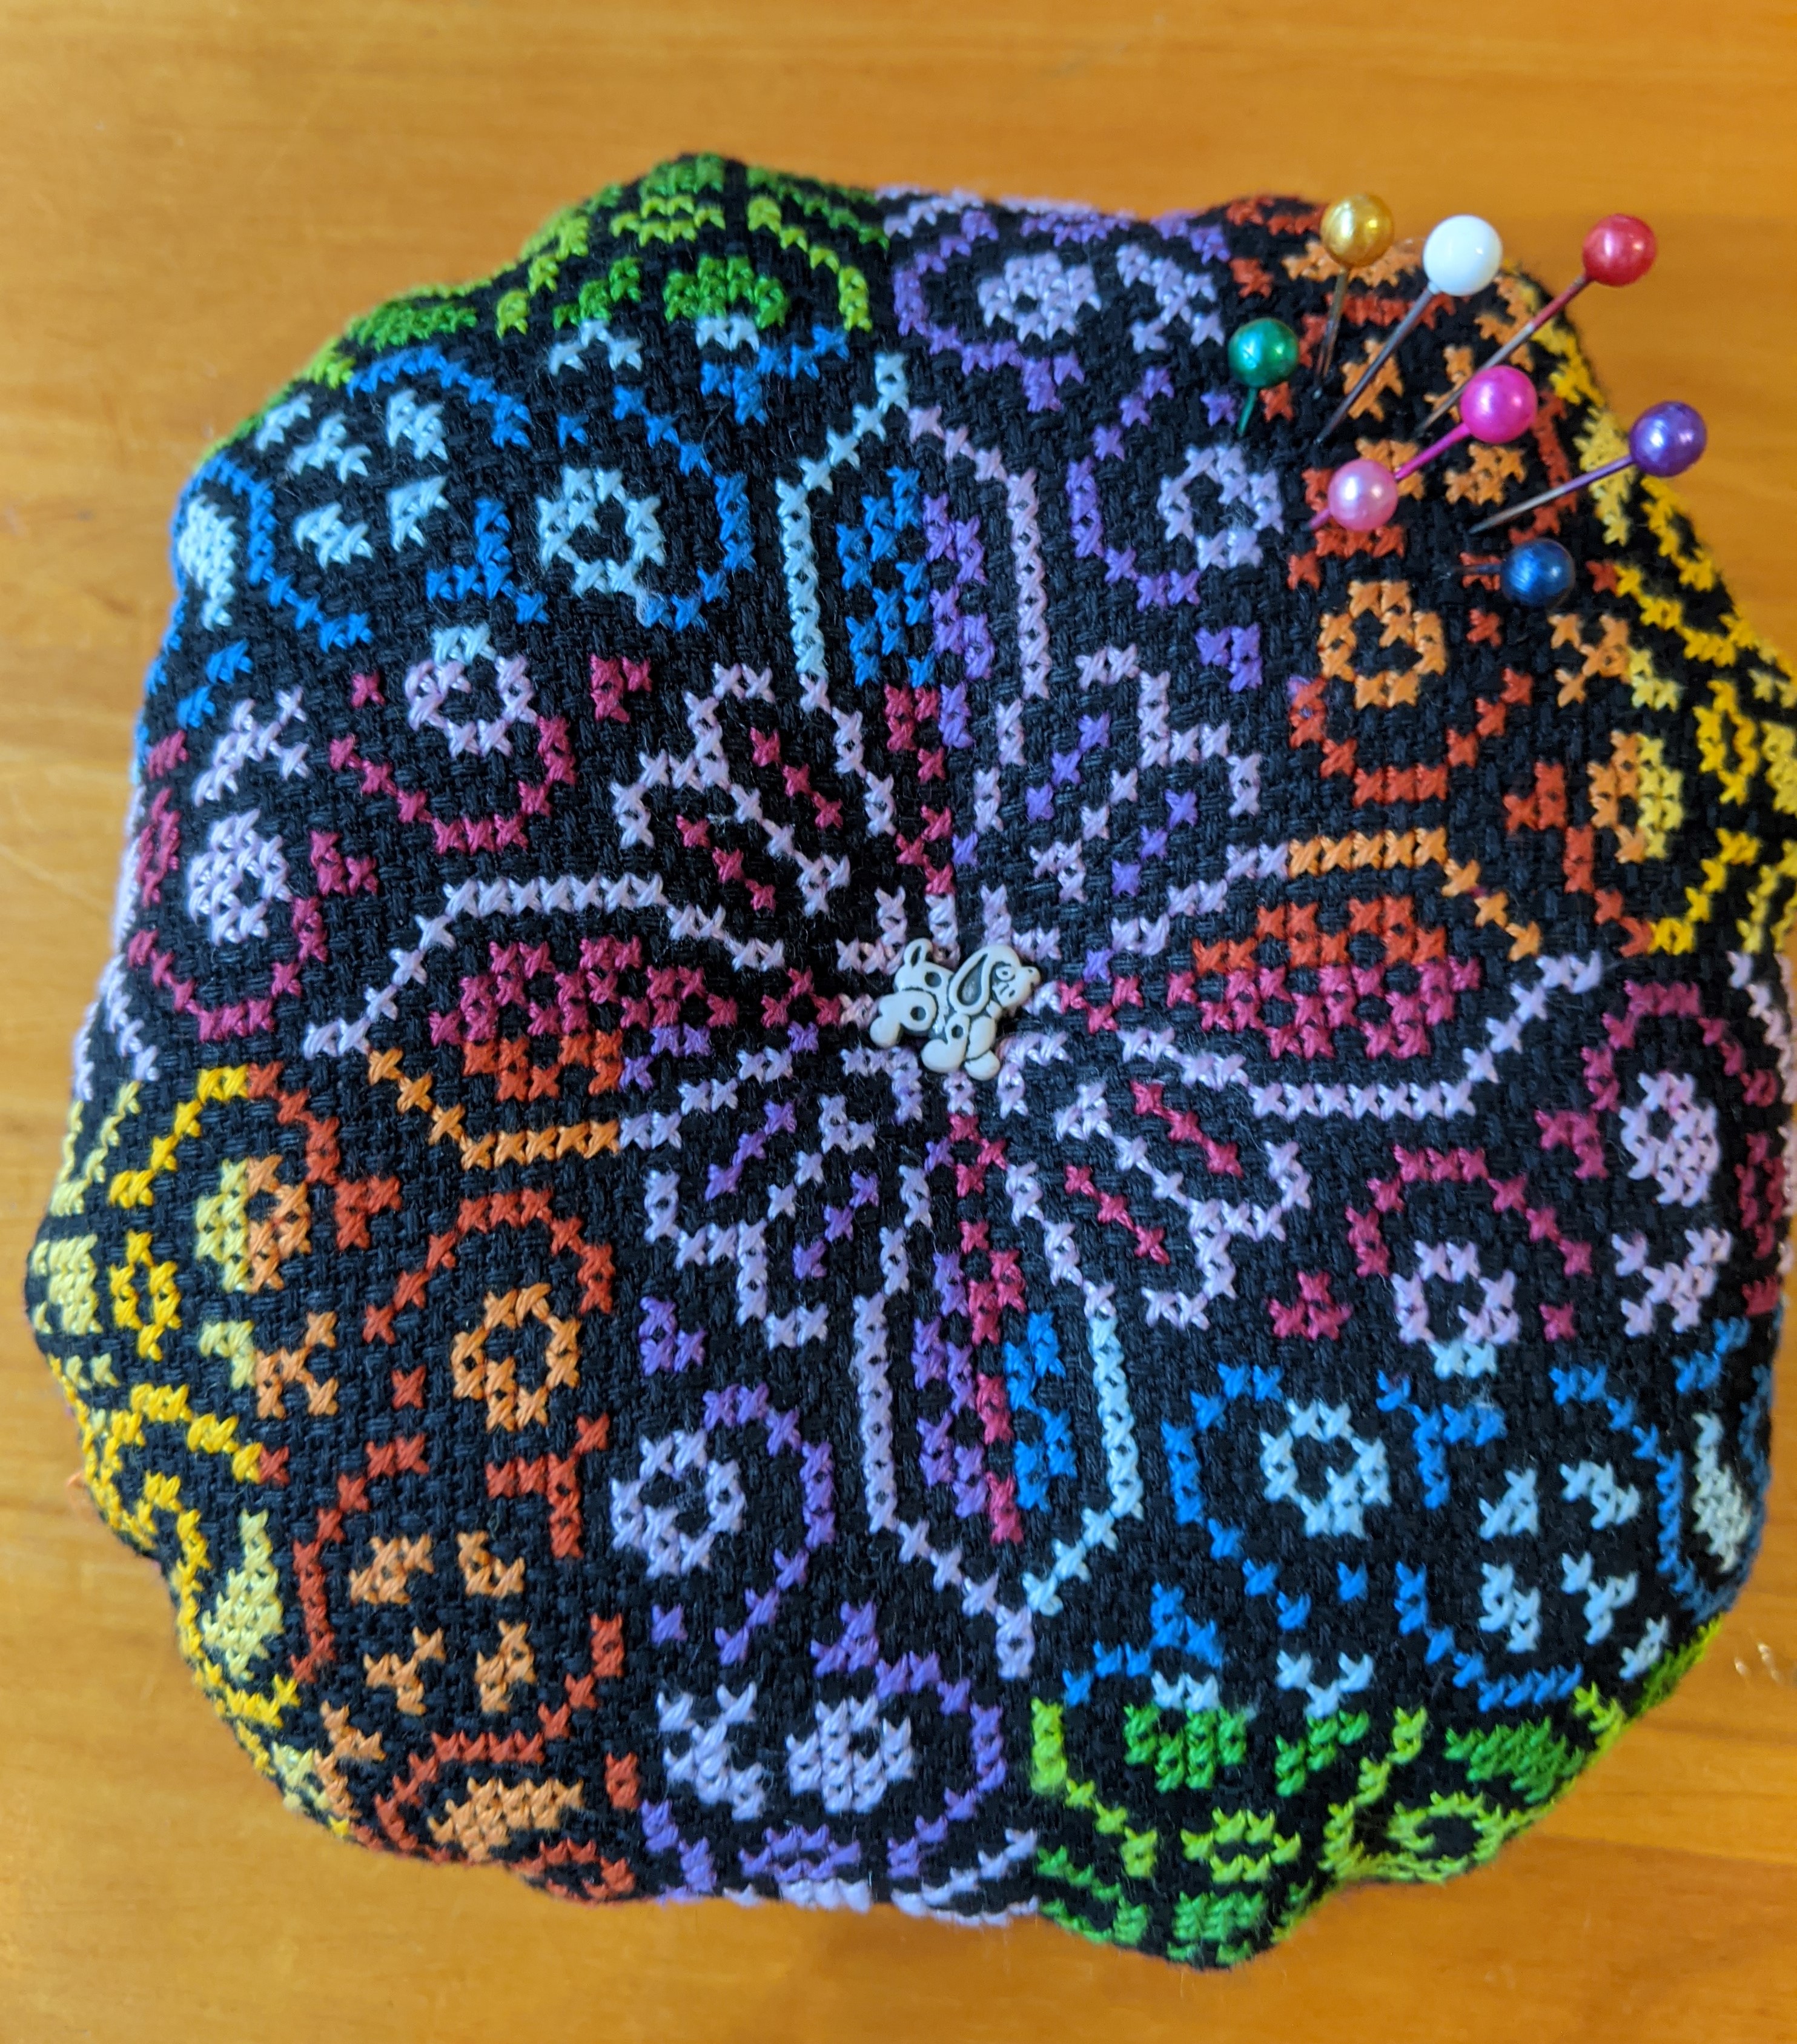
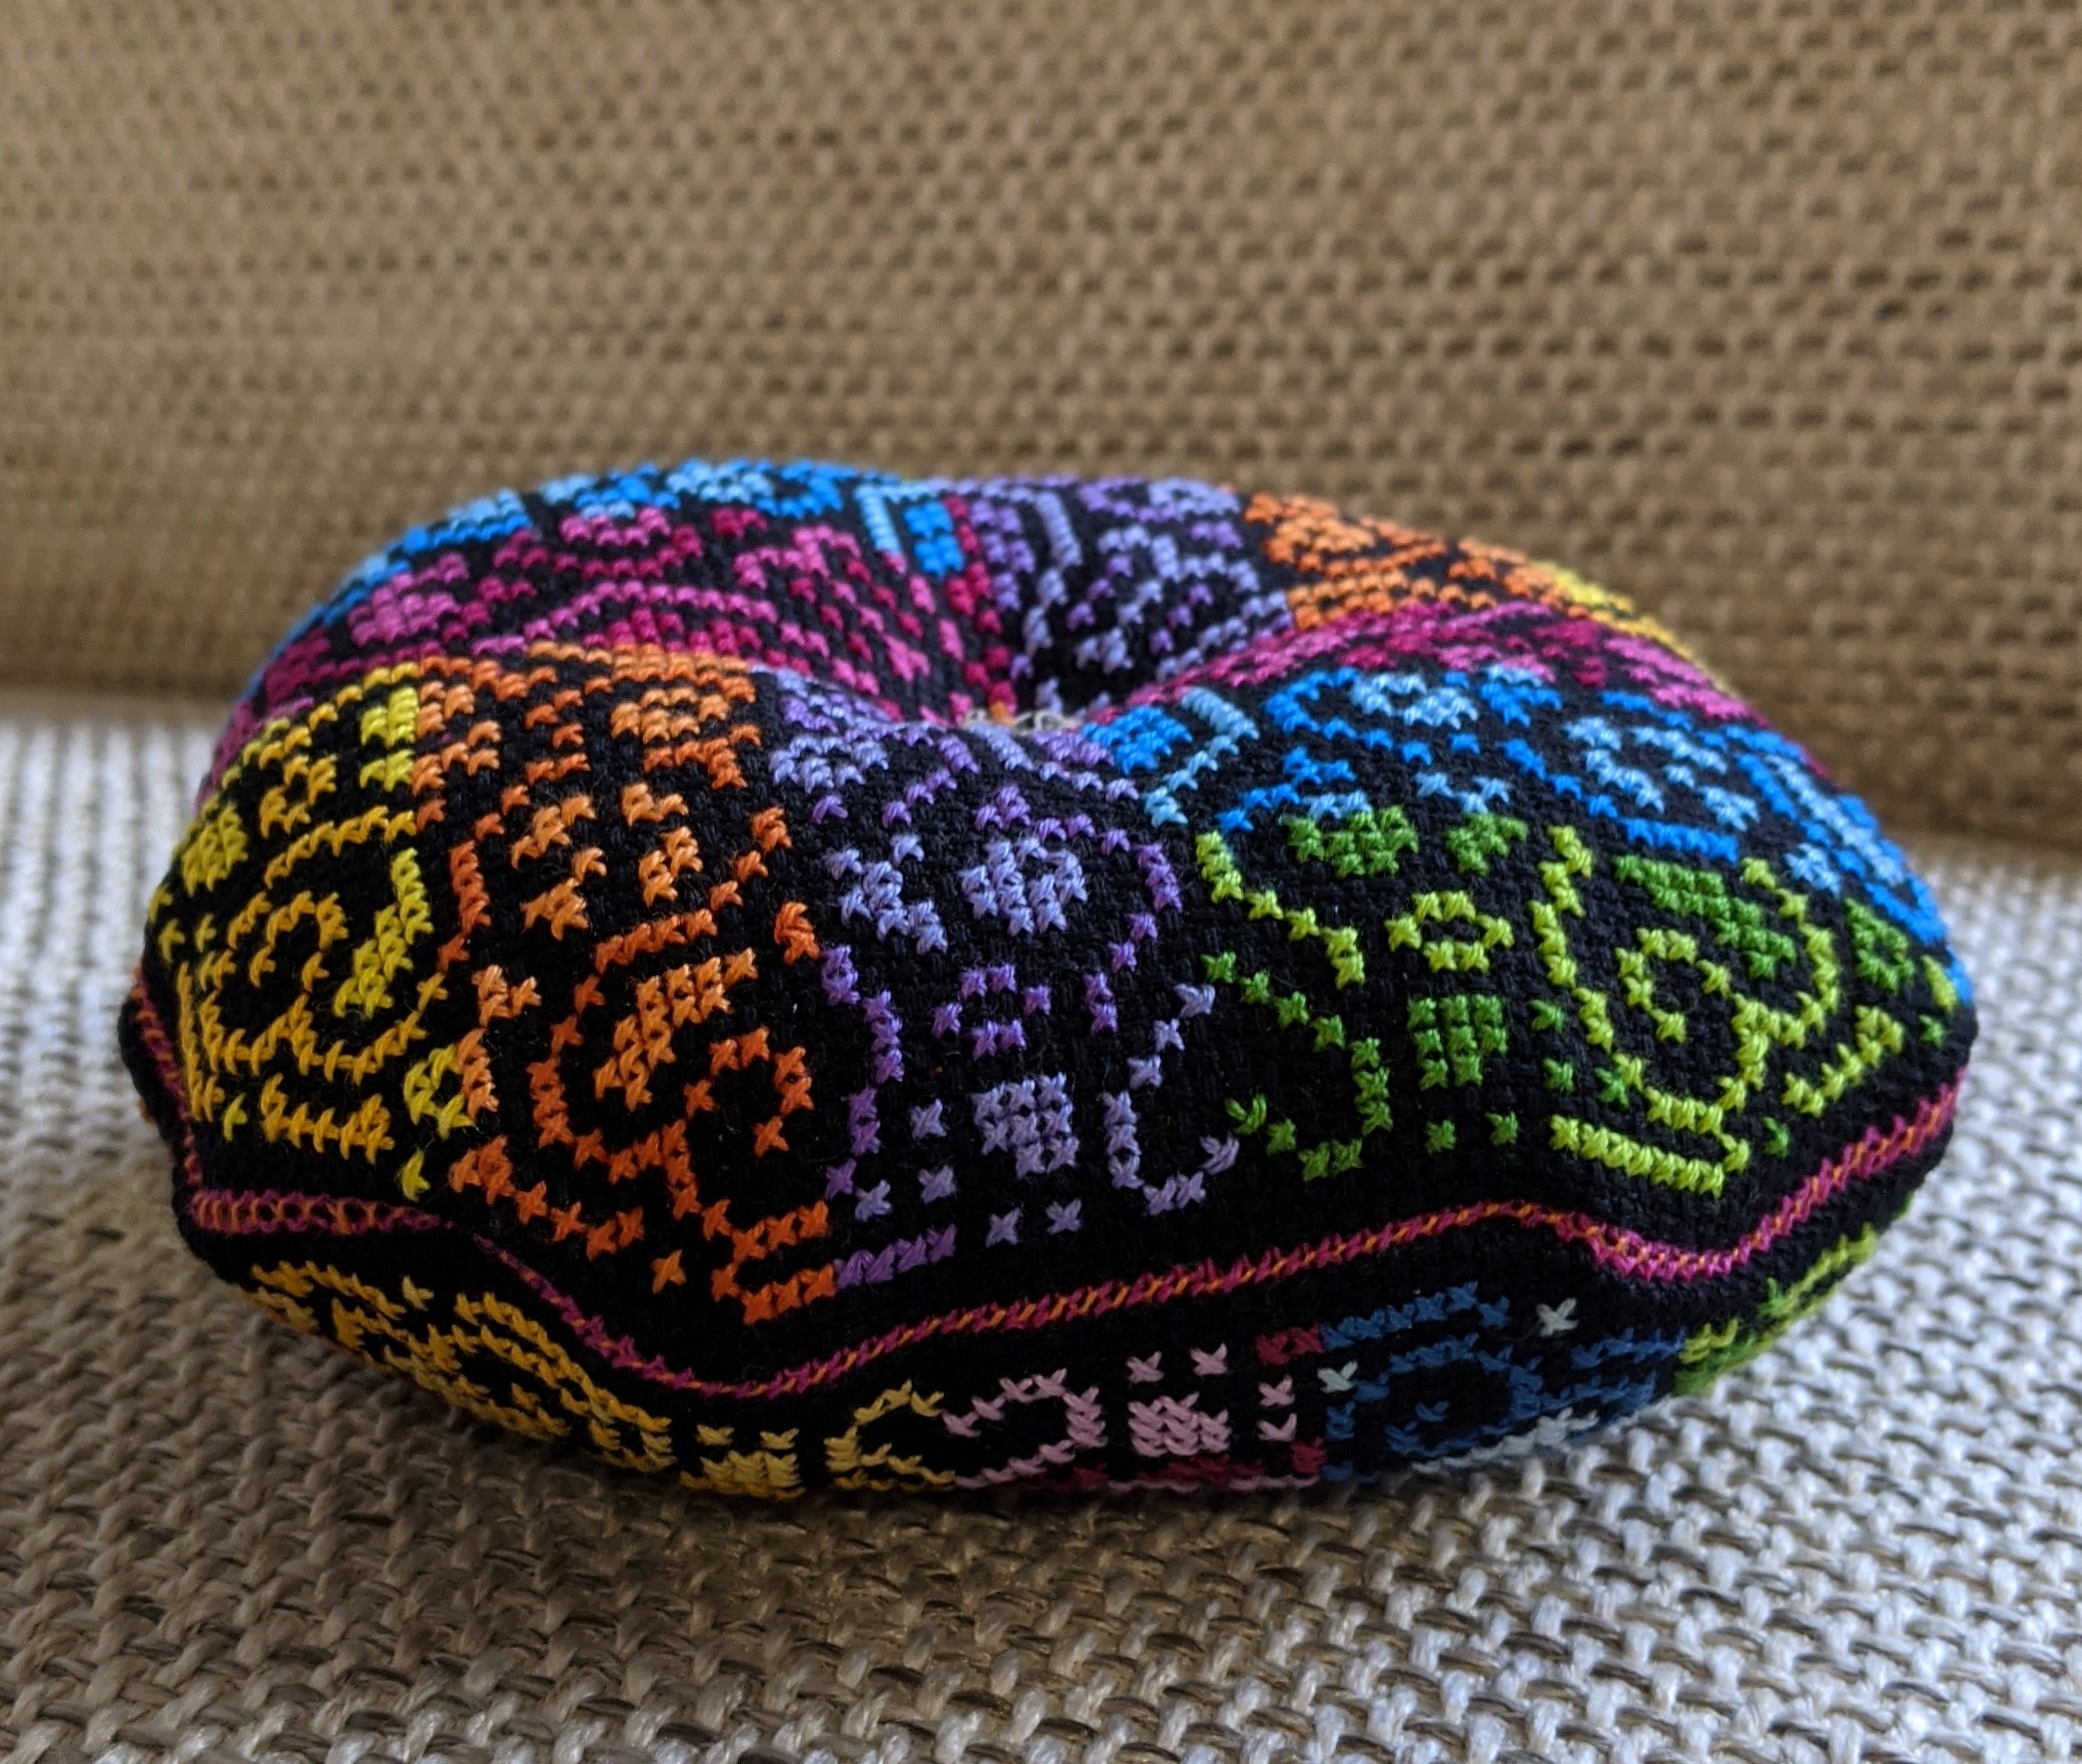
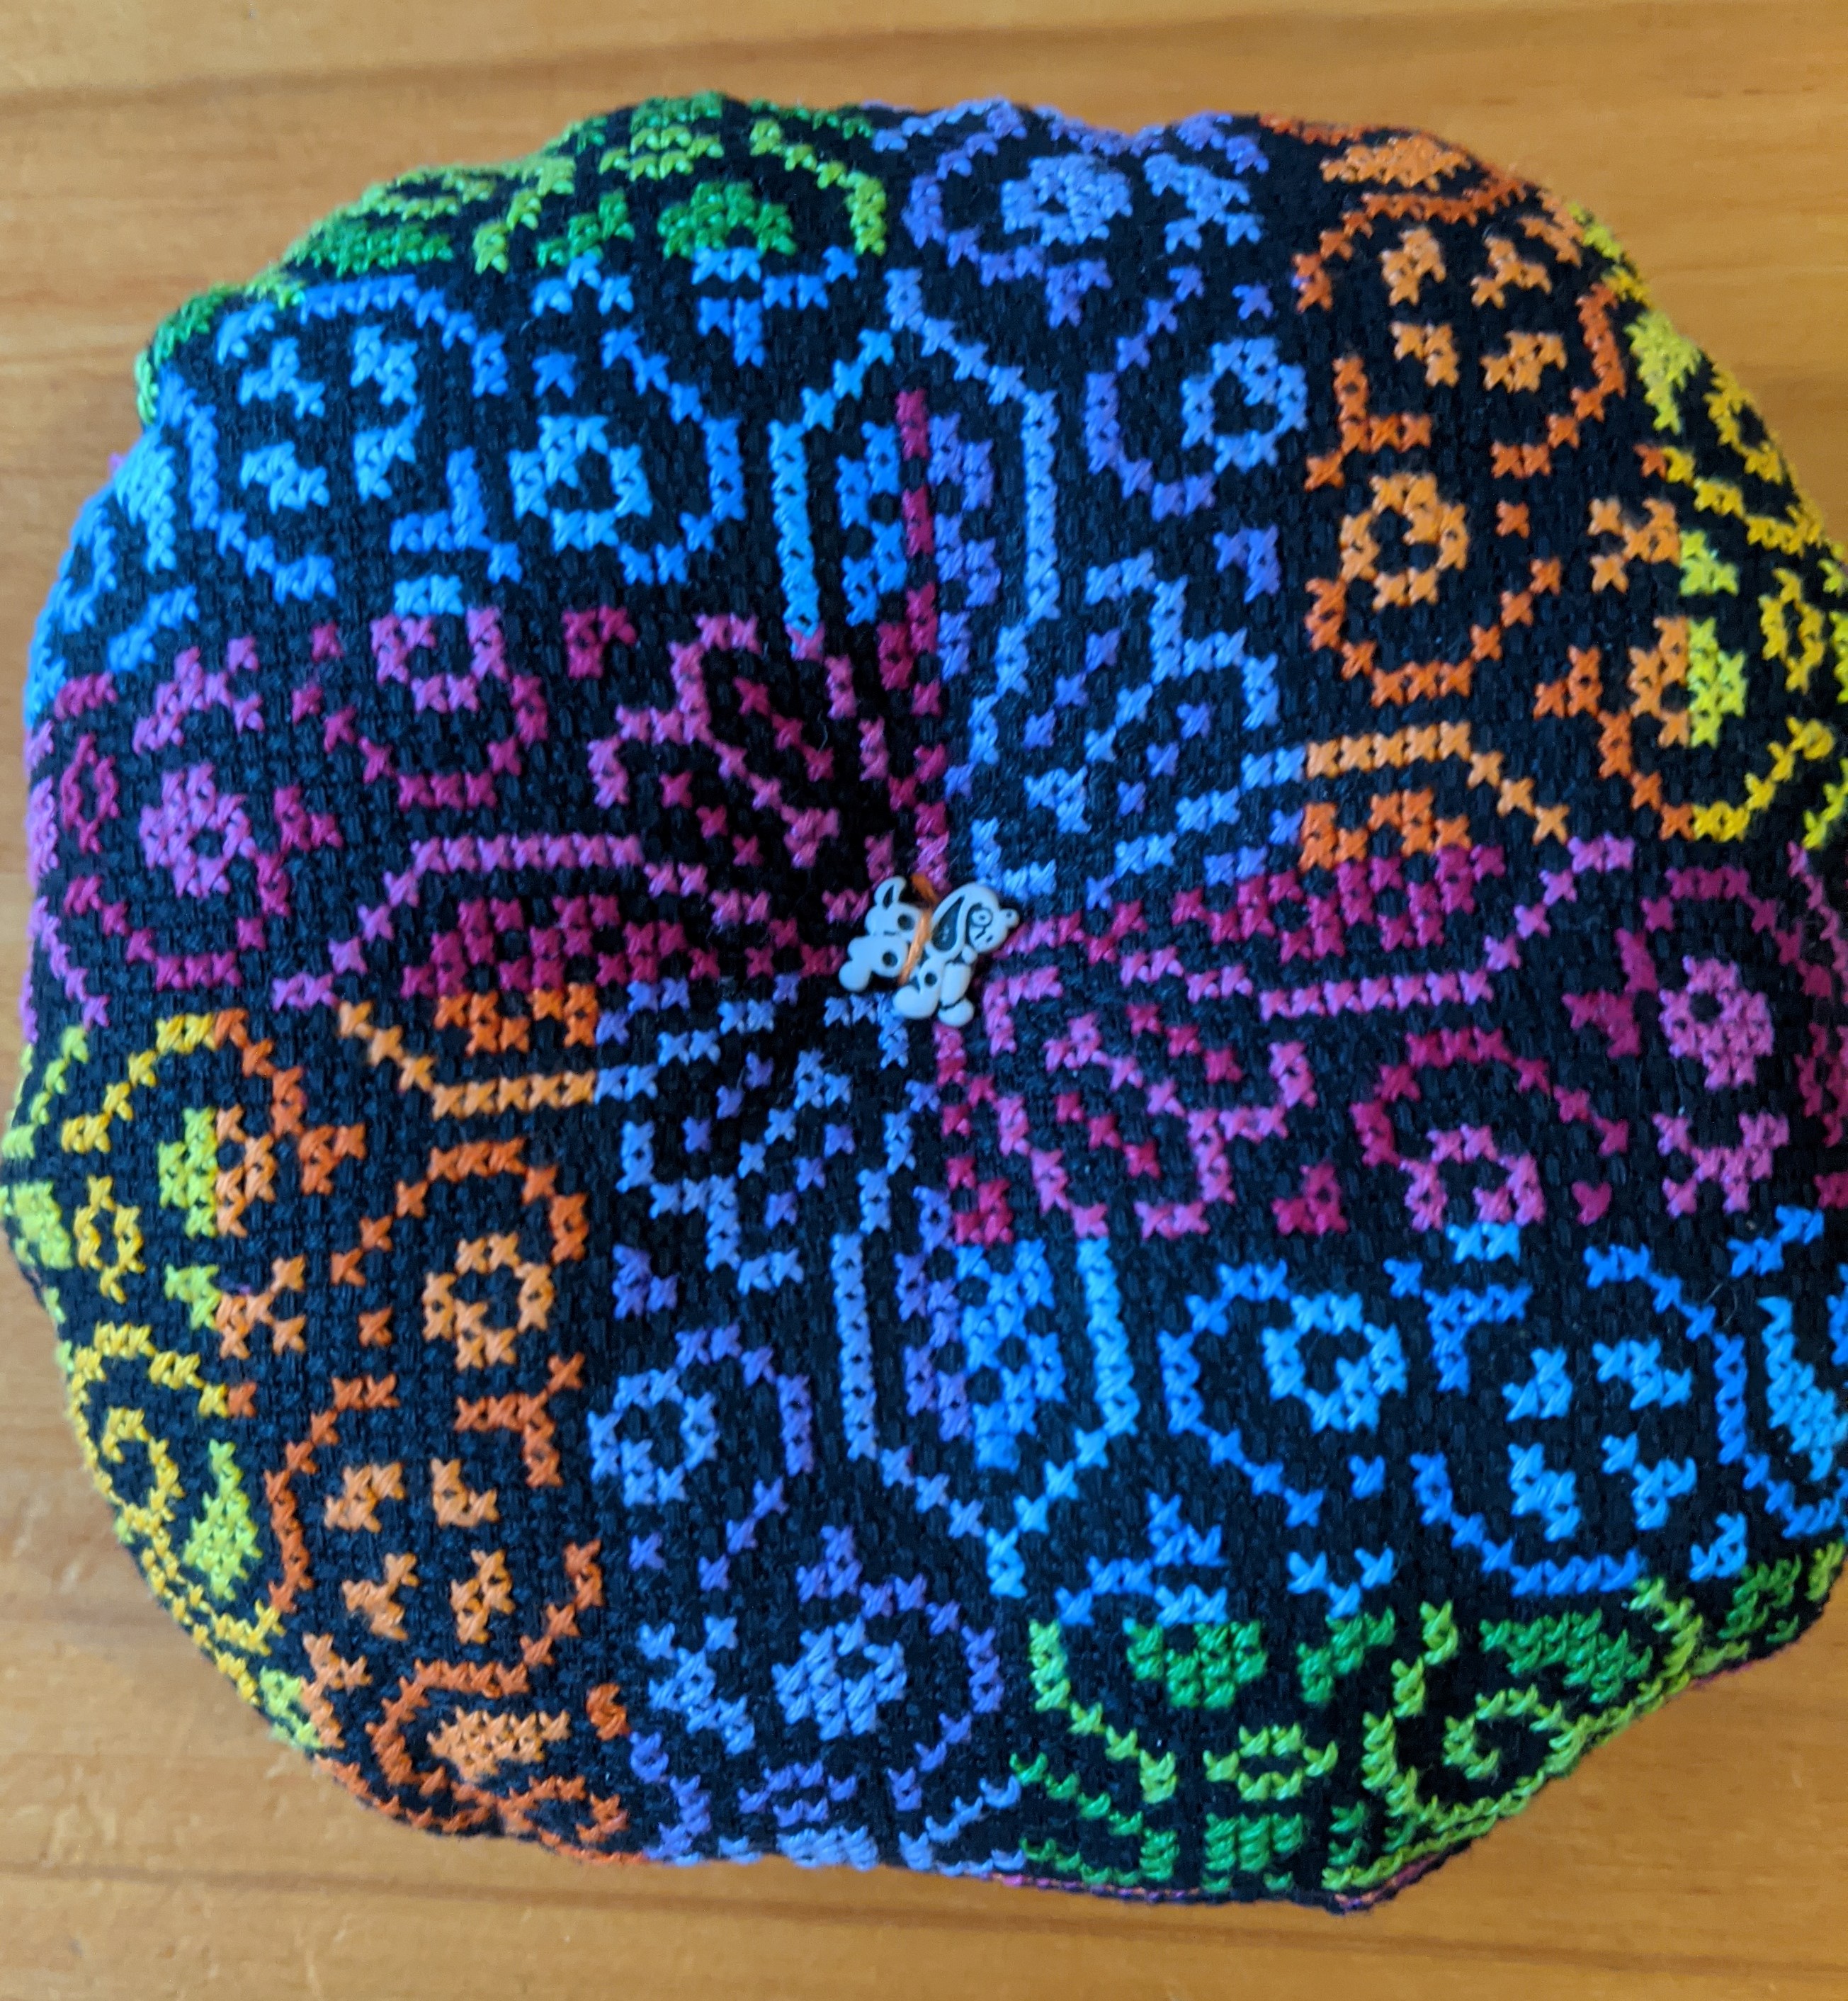
Rainbow Zebras…or maybe a change?
The really good thing with this project is that it’s colourful and not full coverage (i.e. there’s still fabric showing through parts of the project).


However, I don’t know what it is about this project, but I’m starting to think I should swap this out for something else. It may have something to do with me working on some more patterns for Hot Cross Stitching that has me wanting to work on those instead of this one.
That said, there shouldn’t be anything stopping me from working on this one, Autumn Castle and working on anything else I want right?!
January Finishes
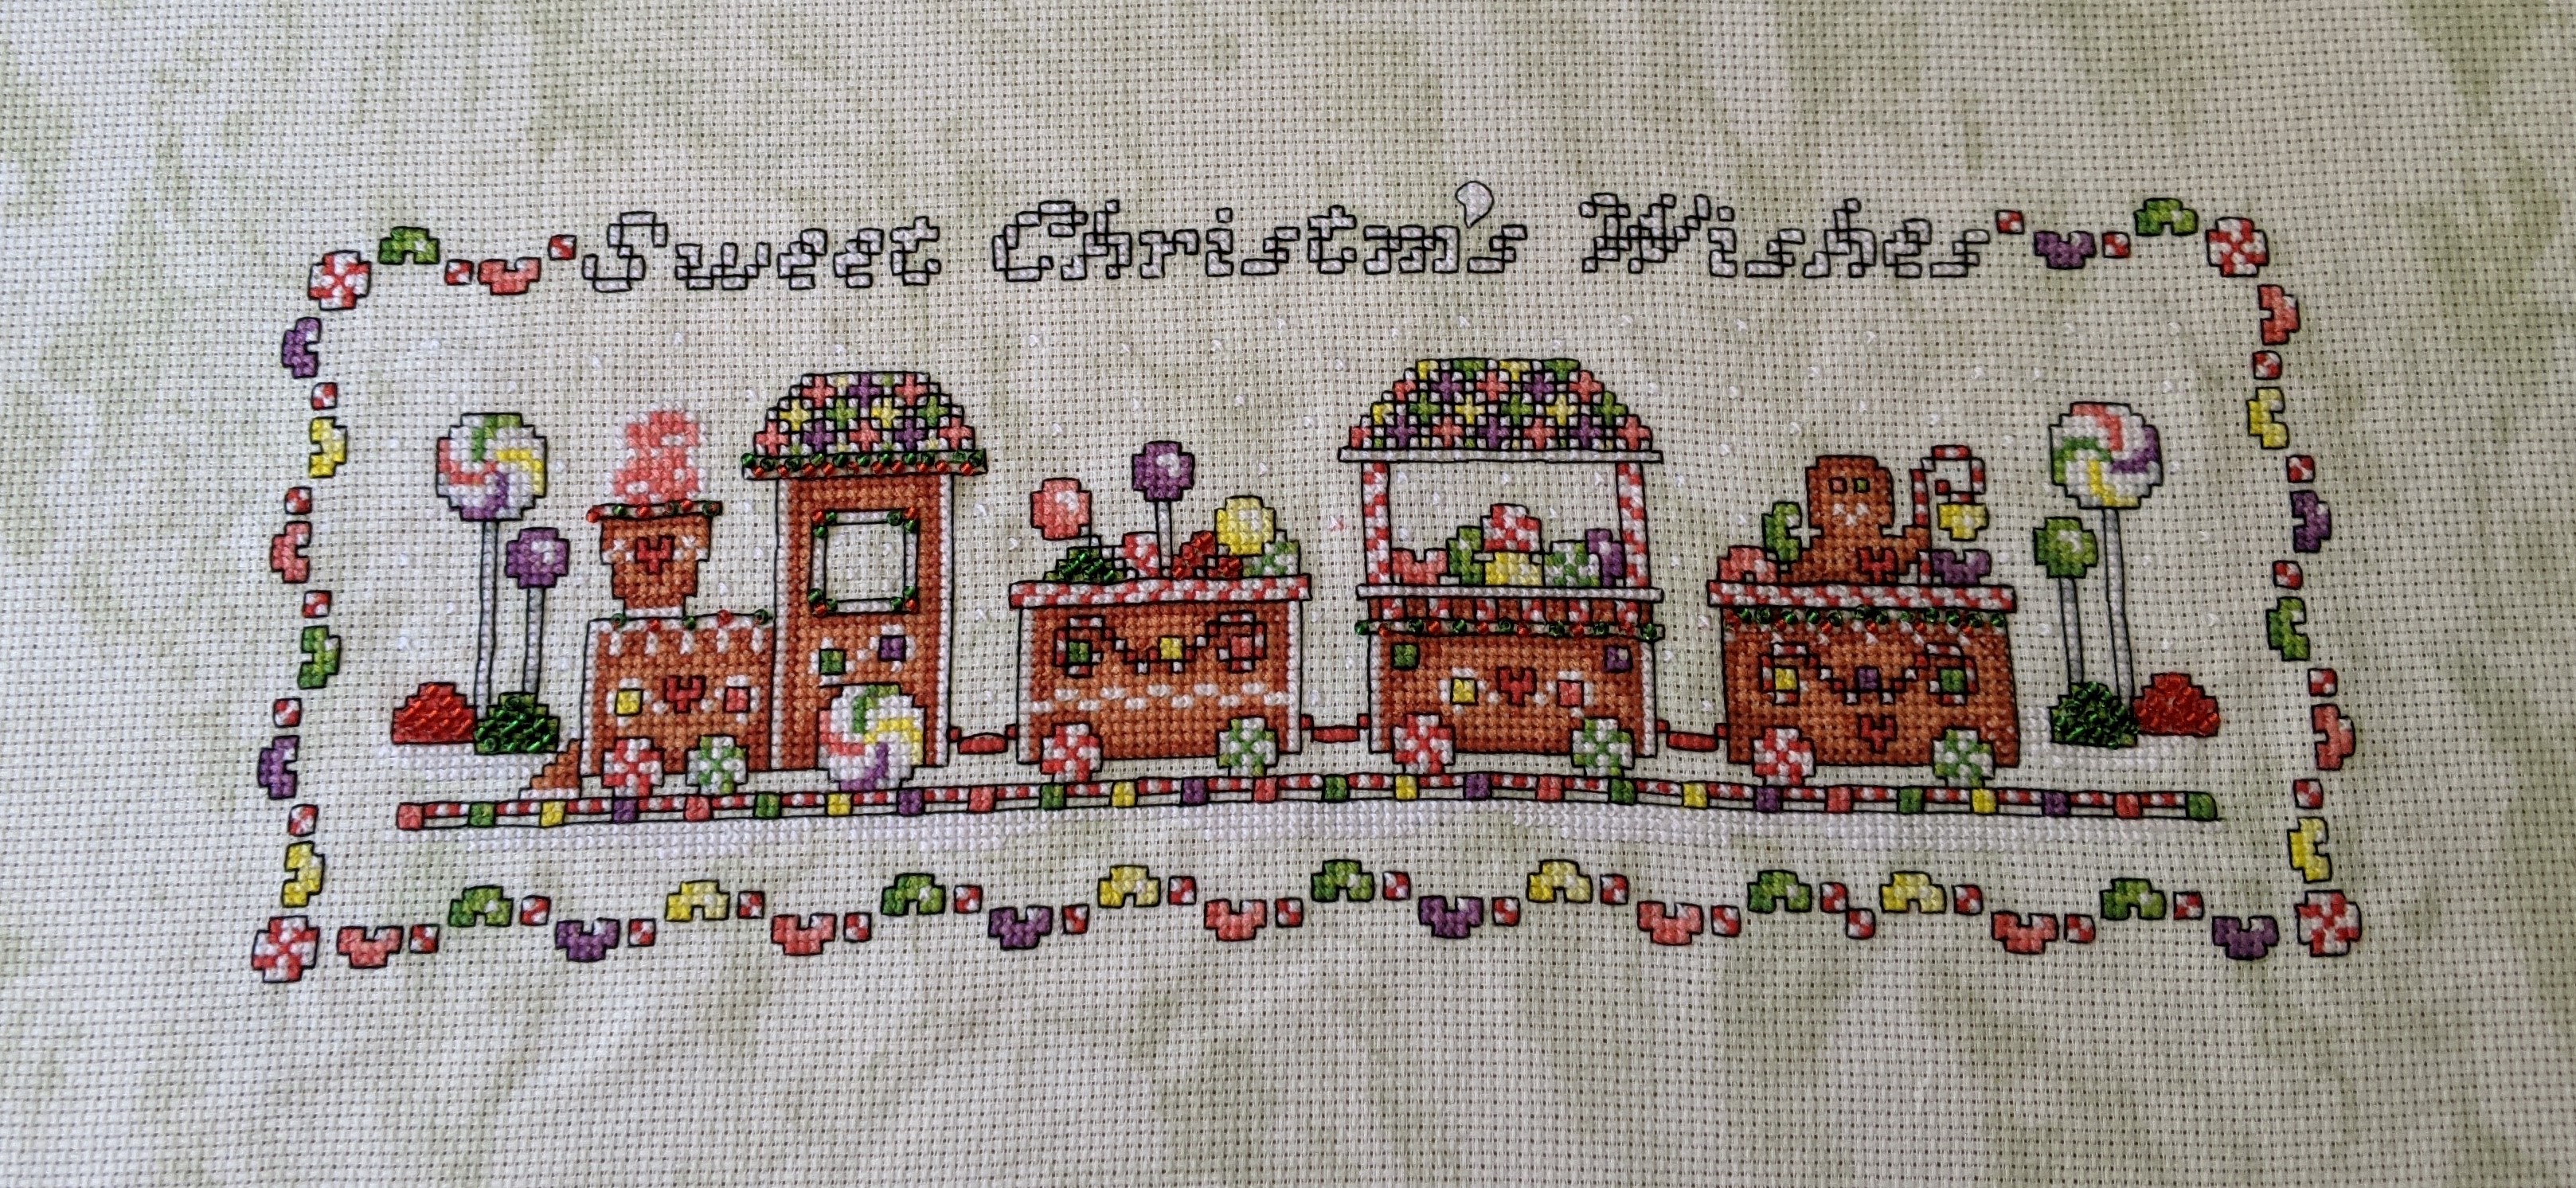
Gingerbread Train – Designed by Shannon Christine Designs
In an earlier post, I may have mentioned that I had finished the Gingerbread Train by Shannon Christine Designs and posted some pictures. In case you missed it, below is my finish and a comparison image of what the finished model looks like in the Ultimate Christmas magazine/book I got the pattern from:


Curglaff – designed by Michelle Bendy Stitchy
I’m a little surprised by how much I enjoyed working on this project. What made it so enjoyable and exciting were some of the threads I was using and knowing that it was designed by someone who I watch on a regular basis via Flosstube. If I hadn’t watched flosstube and Michelle Bendy or Mich Stitches of Punk Poodle Designs, I’m not sure if I ever would have come across this pattern! So ultimately, I was fan-girling a bit throughout the project!
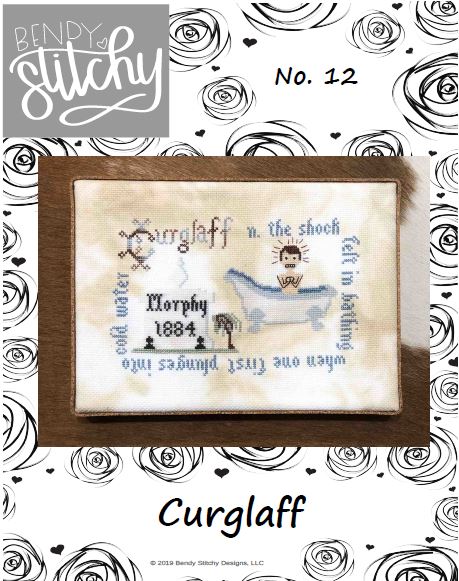
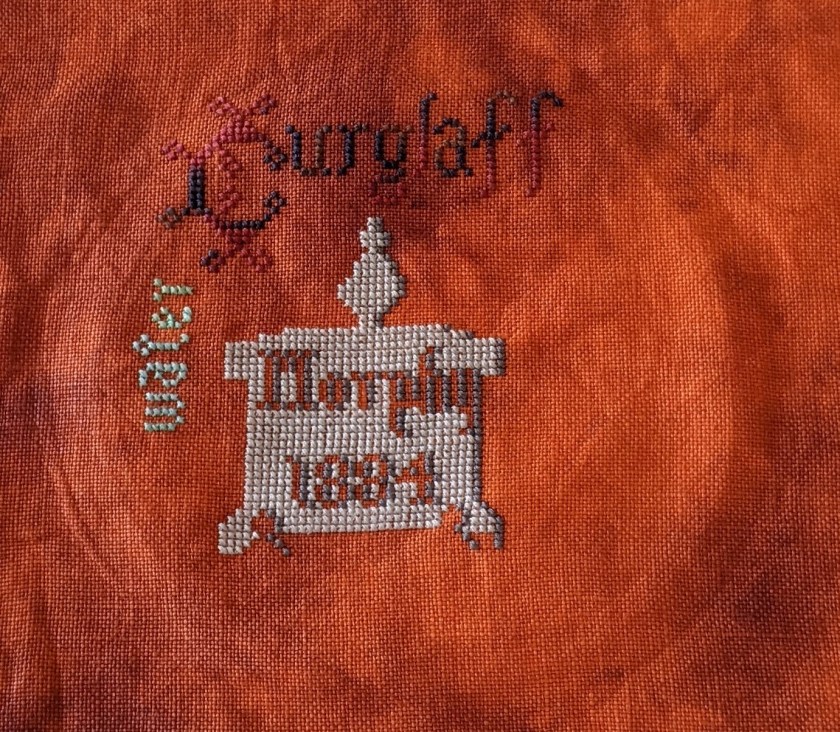

It’s important to note that I’ve only stitched this project once and that the lighting for when I take the photos has a huge impact on how the fabric looks. The first image that shows my progress for the end of 2020 shows the truer colours of the fabric than the second image. However, the second image shows off the stitching!
I stitched this on 32 count (I think! My memory has faded a little) Belfast Linen that I dyed using orange and purple dyes from Spotlight and I stitched it using two threads of cotton over two threads of fabric (aka two squares).
For the word Curglaff, I used Cottage Garden Threads ‘Raisin’ and for the definition of Curglaff and the bath water, I used Cottage Garden Threads ‘Sherbert’. The rest of the project was stitched in DMC threads – some of them were the called for colours, some of them I swapped out for other colours because I didn’t want to go hunting through my other projects for the called for colours!
I might finish this one like the ideas I have for the Gingerbread Train (check out the related posts list at the end of this one) or put it into my smalls finish book…more to come on that one in later posts!
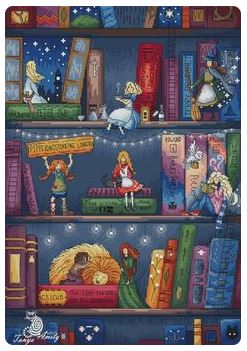
Four Seasons Kittens – Dimensions Gold kit
*Big sigh* I’m looking forward to completing this project. To me, it feels like I’ve been procrastinating its finish for so long that I’ve forgotten when I started it! Which is why having this project on the WIPGO board for this year is so important. I’ve surprised myself during January with how much I’ve gotten done and having time off work has helped too! So much so, I’ve gotten the Spring quarter completed and I’m looking forward to this project’s number being called later in the year. My fingers are crossed in hope that it’s in a month when I have a bit of time off work so that I make some significant progress on it.


The above images show how far this project has come since I started this blog and talking about this project back in February 2019. Which further highlights why I’m so keen to get it finished!
The good thing now is that I can breath a sigh of relief knowing that I’ve achieved my goal for this project during January 2021, and I can focus on the projects for February.
Haul
I’ve been aware of a craft store called the Crafty Frog at Kambah, ACT for many years. However, it wasn’t until the major bushfires of 2019/20 that I went to the store to deliver some donations and last week, to purchase something! In the grand scheme of things, Kambah is roughly a 30 minute drive from where I live and it’s a very comfortable and straight forward one. It’s taken me so long to do the trip because I’ve grown accustomed to the stores closer to where I live and being in the mind set that if I’m going to travel that distance, I need to make my trip worthwhile. For example, there may be some other stores I want to visit or a friend or family member.
In this case, I have a friend who lives in roughly that direction (still about a 20 minute drive away from the store), but close enough to warrant a round trip. I’d also reminded myself enough that the Crafty Frog has some specialty threads I wanted to check out and below is what I bought:

Dinky Dyes, Brindabella Threads and CGT (aka Cottage Garden Threads) are all Australian based – the Brindabella ones being Canberra Region based!
I’m not completely sure what I’ll stitch with these yet, but I just love looking at them! The time, effort and creativity that each company / business has put into making these threads is awesome and amazing. To me, they are definitely worth the extra money!